The Mystical Process of e-Learning Design
. . . a world of shadows, without borders and beyond reality, you’re entering the dimension of the Twilight Zone . . .
Psst! Instead of reading this page, you can watch an example e-Learning Course that demonstrates our product and our process! Find out how an e-Learning Course is designed now!
Actually, it’s pretty straightforward once we break it down :
1. Needs Assessment
e-Learning, like any training design effort, begins with a comprehensive performance analysis and training needs assessment.
Since e-Learning is more-costly to develop, but inexpensive / easy to deliver, we help your organization make the right choices based on these key considerations:
- The size and geographic dispersion of your audience
- The stability of your content
- Your timeline both to develop and to deliver the training
2. Macro Design
Once we’ve decided there IS a training need – and that e-Learning will be a part of the solution – we help you develop an overall plan for how to approach the project. Our macro design includes:
- A synopsis of everything we learned during the Needs Assessment
- An overall Curriculum Plan
- A description of the individual courses or modules to be developed. For each, we identify:
- The Knowledge, Skills, and Attitudes (KSA’s) to be taught
- The course Outline
- And a short Summary, describing the course [see Sample 2].
3. Script
Up to this point, the design process is very similar to what we do when developing face-to-face classroom training. From this point onward, the process is unique:
- Since courses are narrated, it is critical to get this messaging right. We help you draft a script that says what you need your learners to hear.
- This is an iterative process with reviews by Subject Matter Experts (SME’s) and an editor.
- We help ensure that it is conversational – written in the voice of your culture or audience.
- The approved script is migrated into two forms:
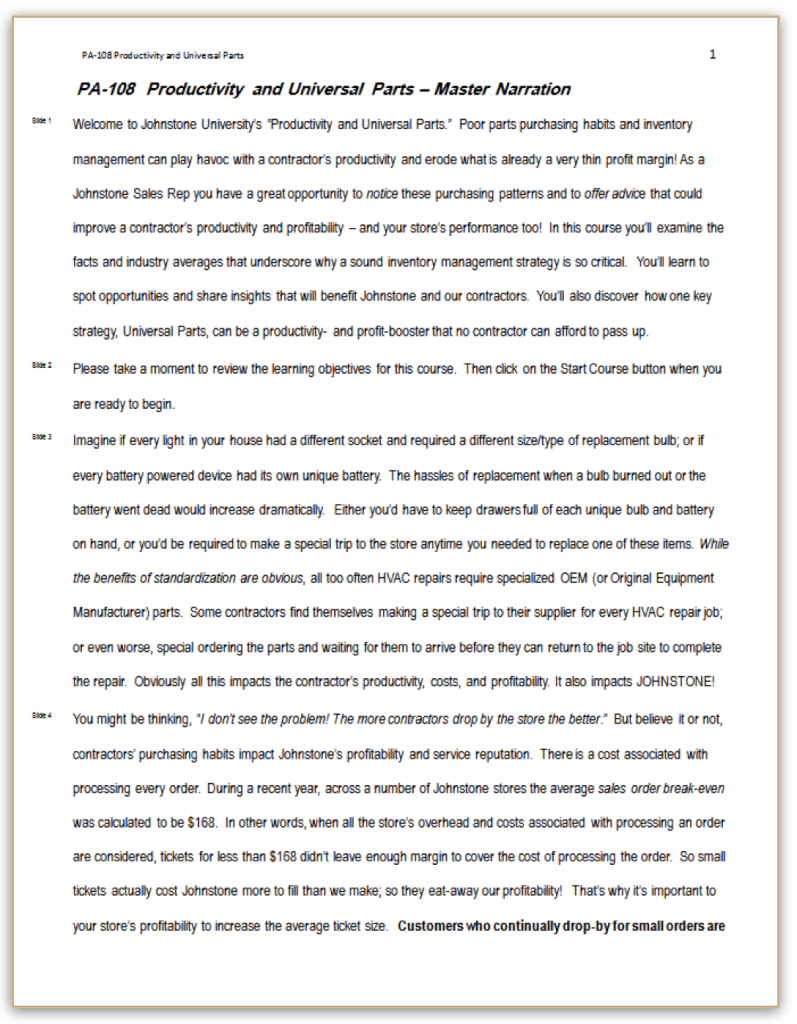
- A Narrator’s script that will be sent to one of our professional narrators [see Sample]
- and to the Storyboard – our next step.
- Usually any time after the script is approved the final quiz (if appropriate) can be drafted.
4. Storyboard
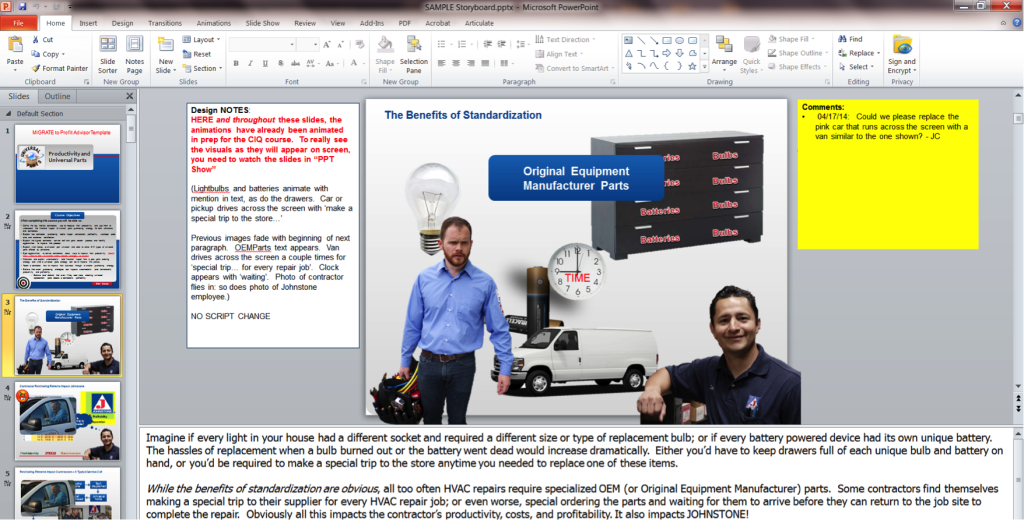
This is where the course begins to get visual; we bring the Script to LIFE with proposed visuals, animations, and interactions.
- During scripting, we may have identified some points of interaction to engage the learner with the course content. The script may even suggest some visual ideas or concepts that could become part of the final course.
- We use Powerpoint® slides to propose a visual layout for the course [see Sample 1].
- The storyboard may start out more raw, with placeholders for visuals and text boxes describing proposed on-screen animations [see Sample 2].
- During the review process you’ll add comments in the yellow boxes to the right of each slide. When all issues have been addressed and the Storyboard is approved, the course progresses to Development.
5. Development (alpha & beta)
During development, the Storyboard becomes the actual presentation slides. Developing the course requires a minimum of two iterations, sometimes 3 or 4 and includes the following work:
- All graphics must be finalized, photos shot, found or purchased, sized, and cropped
- Any Video acquired (or in some cases planned, shot, and edited as an auxiliary project)
- Add extras: Videos, Quizzes, Activities, Links, Attachments
- Animate all slide content in proper sequence with appropriate animations to match narration.
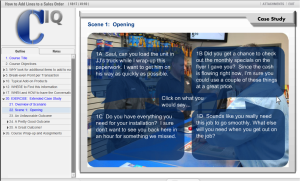
- Add branching or special navigation, if desired. For example, a Role Play with alternate paths based on learner selection [Sample 1] or to allow the learner to dig deeper into various topics [Sample 2].
- The Audio Narration is uploaded to course
- We Sync the narration with all slide animations
- We Publish, Check, and Re-publish
- The Client Reviews the alpha version of the course and provides feedback [see Sample 3: Feedback Form].
- Required rework or changes are made; the beta course is published and reviewed again.
6. Load to LMS
The final step of the e-learning process is to load the final course to the learning management system. This includes the following steps:
- Transfer all files (usually zipped package) to LMS administrator
- Final quiz loaded as separate module
- Opportunity to organize and overview entire curriculum, group pre- and post- assessment as well as other exercises
- Manage (control) registration
- Track progress, completion, scores (and award certificates and rewards)

LMS stands for ‘Learning Management System’, which is usually cloud-based.
Timeline:
The time required to complete the above process varies with the complexity of the project. Below are some estimates of the typical time required to develop an e-Course
- Scripting 1-3 weeks
- Storyboarding 1 week
- Development 1-2 weeks
- Loading 1 day
- Overall: Generally 4-6 weeks. (Can be done in as little as 2 weeks if everything is humming!)
Click the button below to find out how to design an e-Learning course. You can see the information above outlined in an e-Course we designed to demonstrate our process and our product:
Obviously the e-learning process is complex, but with over 70 e-Courses under our belt, VETTER Learning possesses the expertise to guide you to a successful outcome.


